Product Photography and why it is important for your business
- ID&EA

- Apr 4, 2023
- 6 min read
Updated: Apr 5, 2023
Getting the right image can be tricky. You want your products to look consistent, professional, and appealing on your; website, social media, and any advertising you might be doing.
Obviously, hiring a professional to shoot your products will give you the best result. BUT, if you are on a restricted budget, a photographer might not be an option for you right now, especially if you are just starting up.
But do not fear! For Jon is here!
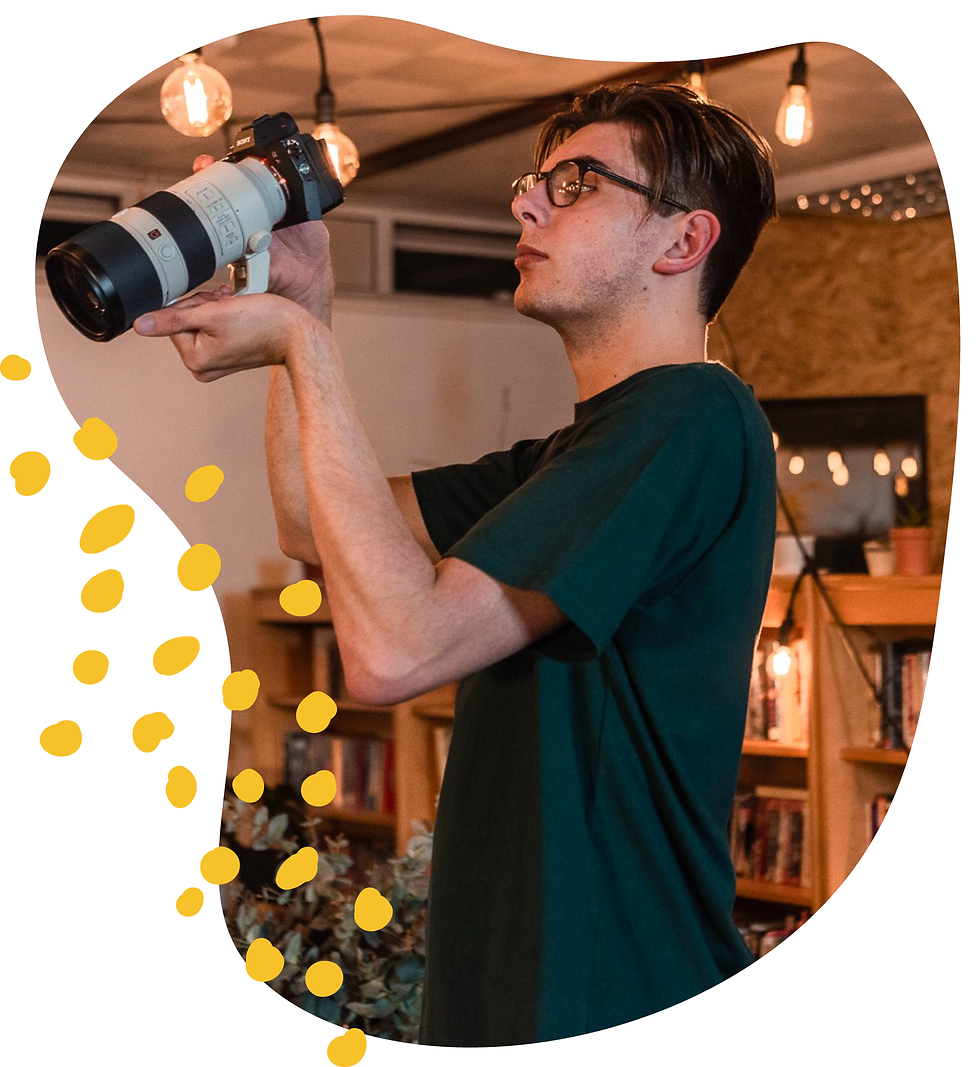
Jonathan Bell has over 5 years of experience in the photography industry and is skilled at shooting all things from; commercial to music, to fashion and weddings. “You name it, I'll shoot it”, says Jon.
Natalia, the founder of ID&EA, spoke to Jon, a professional freelance photographer, to give you some advice on completing your DIY product photography and doing it on a budget.
FYI: This is part one of a series of three – Jon gave us LOTS of brilliant advice that we couldn’t quite squeeze all into one post!
🔜 Coming on Mon 17th of April: Why Personal Branding Photography will help your Small Business
🔜 Coming on Mon 24th of April: Free Downloadable Shoot-Plan & DIY photography shopping list
Or, if you fancy an excuse to put your feet up and grab some snacks and have a good ol’ brew, we also filmed and edited our chat into a video from which these blogs are inspired. Press play to watch the video below!
How you can photograph your products by yourself
It’s okay to use your phone!
Phones are getting better and better, and as a result, we all now carry a pretty decent camera in our pockets every day. With the right bit of lighting, attention to detail, and angle, don’t underestimate what your phone is capable of!
A phone is good enough as a kickstart: It gets fairly decent images on your website presenting your products, and at the end of the day, that’s what it’s all about.
⚡ Lighting
No matter how good your camera is, you still have to think about the lighting.
An easy win is buying yourself a Soft Box Constant light which you can get for around £20 – £50. This allows you to control the light and manipulate the effect.
You can alternatively use the elements and opt for natural lighting.
However, natural lighting does require a bit more forward planning: You’d think that daylight would make things easier as it’s always there but sadly that’s not quite the way it is.
To ensure that your photos are consistent for each of your products you only really have 2 options;
A. Shoot all your shots in quick succession
B. Make sure you select a time of day to reliably shoot at so that the lighting is the most similar if you have to spread out your sessions
Simply, this is because the intensity of the light will change, and where the light is during the day will change with the movement of the sun. You might not think this is a big deal, but this change in lighting can dramatically affect the lighting and results of your images.
Much like with consistency when using natural light, another pro tip is to keep your:
• Aperture
• ISO
• Shutter Speed
settings the same. Take note of them so you can replicate them in another shoot when you next need to take product images.
These features are all available on your phone… if you know where to look(it’s usually under “Pro” settings/mode). The better our phone cameras are getting, the more we can play with these settings. Take a look into what the different setting on your phone allows you to do, for example; portrait mode on an iPhone allows you to adjust the aperture of an image (and depth of field).
📐 Angles
Another way to keep the consistency of your images is to retain the angles your images are taken.

Here’s how to set it up:
1. Use a tripod to set up your phone or camera
2. Use a template to help you position your shot
3. Replace the template with your product
4. Shoot away!
5. Mark or note your tripod angles in case you need to replicate it in the future
🔎 Attention to details
The best way to get the result that you are looking for is to work backwards.
Consider:
Exactly WHERE the image is going to be on your website
WHAT the image then needs to show
WHAT format the image needs to be in (e.g orientation or size)
From this, you will know what you need to get from your photo shoot for the image's location and its purpose on your site.
Pro tip: Always listen to your designer for what type of image they need when building your website. They have a vision for your site and getting the right images for this is KEY.
How should you choose your shots?
When you are deciding what and where you want images on your site, you will need to consider your shot.
There are three routes you can take:
On White / Detailed Shot
The white backgrounds are best for a detailed shot. These are ideal for showing off your items in catalogues or on product pages. It's also a useful way to highlight particular products independently that are part of a collection.
Lifestyle / Dressed Shot
The busy background or foreground is better for more of a lifestyle shot. It can be showing the product in use, the raw ingredients used to make it or how you imagine it sitting in your buyer's home. These types of photos are great for social media, advertising and featured product images in your online store.
Hero Shot
The busy background or foreground is better for more of a lifestyle shot. It can be showing the product in use, the raw ingredients used to make it or how you imagine it sitting in your buyer's home. These types of photos are great for social media, advertising and featured product images in your online store.
Ultimately it is up to you, but knowing where your image will be used will help you decide which shot you choose.
Things to consider:
• Are you overlaying text?
• What do you want the image to look like?
• Who will the image be aimed at (what does your target market respond best to?)
• Does it tie into your branding?
• Are you going to add textures?
It can feel a bit overwhelming trying to decide what feels like a billion and one different images, so we have created a content shoot plan that can help you with this. Click here to download the shoot plan.
Hiring a photographer
At the end of the day, no matter how many tips we can give you from a professional, we will always recommend hiring a photographer.
As a creative agency, we spend a lot of time working on your branding and the messaging your website gives, but it can be let down by the photography and thus the quality of the product you are selling.
Having a photographer with a specific brief can make your website and your products SHINE!
📝 What info do I need to give a photographer?
Research:
See what your competitors are doing
Look at what photography styles you like that could be a good fit for your brand
Keep your eyes open for inspiration
Consider trends (as long as they will be valuable for your target market)
Mood boards:
A mood board can demonstrate your vision so it stays true to your brand and your voice, it is your brand and your product.
Themes:
Highlight themes that send your brand's message and have longevity
Props:
What items can elevate your product? E.g. using plants to associate the message that it is an eco-friendly product.
The photographer can do more with the more context you provide. But also, remember photographers are creatives who can work beyond your initial ideas.
🙂 Picking the right photographer
As with any outsourcing you always run the risk; “if you buy cheap and you buy twice”. But we’d also suggest steering clear of the big companies; you want an individual you can work with and that will keep you in the loop.
1. Take a look at their portfolios and check that their niches match your business
2. Look at their recommendations, or ask a business whose images you like which photographer they used
3. Have a chat with them. If you build a good rapport with them, it can indicate that they share your vision and want to create a result you’re happy with
4. Make sure they understand your personal touch and they aren’t just trying to churn out work
5. If it feels exciting, it’s probably a good match!
It’s important to get it right.
That will mean taking a lot of time and care into considering all of the details before, after, and during the shoot in order to shoot it well. Or, it might mean hiring a photographer.
Your photos need to show off your products so make sure you invest yourself in your product photography one way or another.
Thank you to Jon for his fabulous tips! If you want to hear more of Jon’s photography wisdom, read our upcoming blogs, or watch the video.
And, don’t forget to sign up to download our free PDF shoot plan to help you organise and plan those fine details to make your images shine.


Comments